To access claims in firstREV that have been submitted from within the software, click Claims on the toolbar and then select either Institutional or Professional. Additionally, users can access either of these screens by clicking the appropriate option in the Quick Links section on the Dashboard screen.
Like many screens throughout the interface, firstREV displays claims data in a grid format, which users can customize to display information exactly how they prefer (i.e. Sorting columns of Data, Grid Control Icons, Profiler, Tools, etc.). Refer to the “Grid Functionality” section for more insight on these features.
While viewing the claims grids in firstREV users are able to perform an action on multiple claims at a time by using the Tools feature that displays above the grid to the far right.
To perform an action on multiple claims:
1. Navigate to either Claims | Institutional or Claims | Professional.
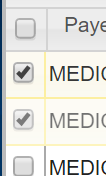
2. While viewing the claims grid, use the column on the far left to select records displayed in the grid, as seen in the partial screenshot to the right. To select all claim records in the grid, check the box at the very top that is next to the column headers.
3. If necessary, use the Quick Search feature or grid navigation controls to find the desired claim(s).
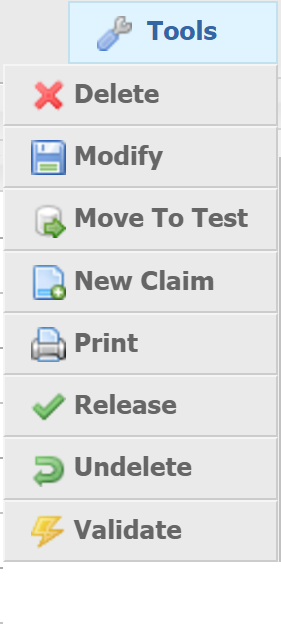
4. Use the Tools menu to indicate which action you want to perform on the selected claims. Hover the mouse cursor over the Tools menu and then select one of the following options:
● Delete — Delete the selected claim(s).
● Modify — Edit general Claim Information or detail regarding Entities for the selected claims. Any information entered in the Modify claim records prompt will be applied to all claims that are selected.
● Move To Test — Move selected claim(s) to the test environment.
● New Claim — This option allows users to create a new, blank claim and does not require users to select any claim records.
● Print — Print the selected claim(s) in a single .pdf file.
● Release – Release selected claim(s).
● Undelete – Select previously deleted claim(s) and make them active again.
● Validate – Check selected claim(s) for errors
5. Enter the appropriate details (if applicable) and then confirm the selected task in the prompt that displays (e.g. Delete Claims, Release Claims, Validate Claims ).