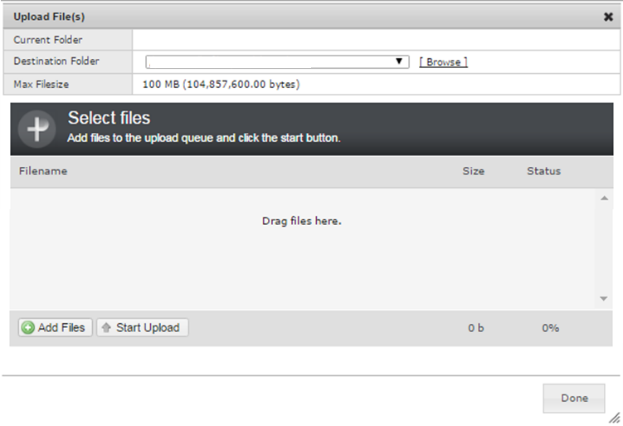
While viewing the Dashboard screen, users can upload claims into firstREV by using the File Upload section on the right side of the screen. In the File Upload section, click ![]() to initiate the Upload File(s) prompt, which is shown in the sample image below.
to initiate the Upload File(s) prompt, which is shown in the sample image below.

Use the interactive prompt to specify the claim files to upload. Either drag-and-drop the desired file(s) or click Add Files to browse for the file(s) using the Windows explorer prompt that displays. All NSF, HL7, print images, 837 and 835 files are accepted.
After file(s) are selected, click Start Upload. Refer to the Status column to determine when a file is finished uploading. Larger files may take longer to upload. After file(s) are finished uploading, click Done. Claim files that uploaded successfully can be viewed by navigating to System | File Manager (within the folder of the selected entity).
|
|
Upload may fail if the system cannot read the file, if the file is defective or corrupted, or if the file is a duplicate. |