The primary functionality that enables users to build a care plan from within the document is the Problems, Goals, and Interventions section, which is located beneath any question or response where a Problem, Goal, or Intervention applies. As mentioned, every instance of this section is tied to the Visit Date field (in the document header). When a Visit Date is present, these sections are enabled.
Any applicable Problems, Goals, or Interventions (PGI) will automatically display within the corresponding instance of the interactive Problems, Goals, and Interventions section (e.g. Imminent Status, Medications, Cardiac Status, Pain Assessment, etc.), based on the assessment data that has been entered.
Interacting with Problems, Goals, and Interventions in Documents
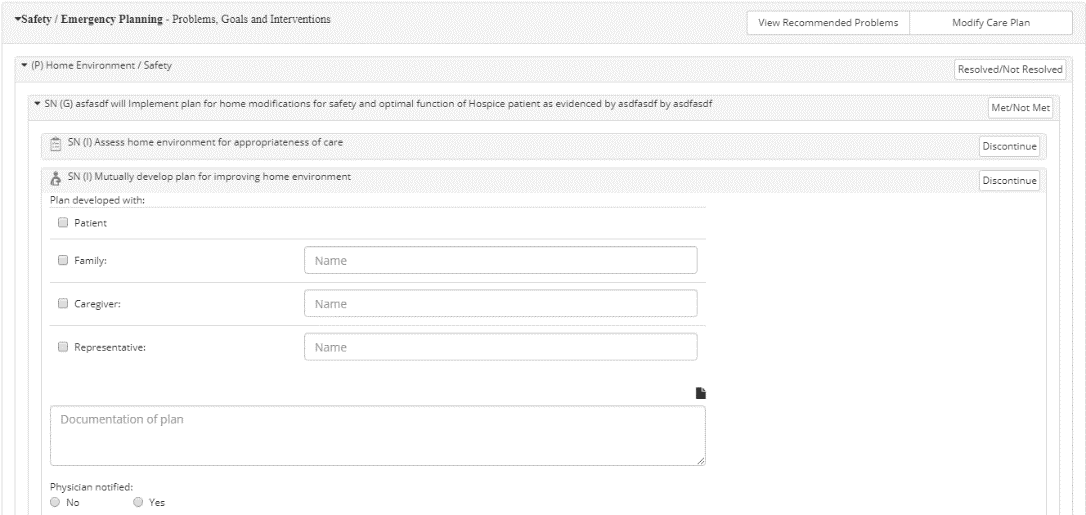
Users can directly interact with PGI items displayed in any instance of the Problems, Goals, and Interventions section. Each care plan element is marked according to the type of item: “(P)” for Problems, “(G)” for Goals, and “(I)” for Interventions. If applicable, care plan elements are also labeled according to the discipline that is associated.
As seen in the sample image, once a user clicks the Intervention (“SN (I) Mutually develop plan for improving home environment ”), the Intervention expands to display additional fields that are specific to the Intervention. Each care plan element is different and contains functionality that is unique to that element. After all applicable information has been entered for a care plan element, a green checkmark will display to indicate that the Intervention has been performed in the visit.
Completing Care Plan Elements
As described in the “Hierarchy of Care Plan Elements” subsection in the Care Plan topic, within each care plan: Interventions are completed or Discontinued, Goals are Met/Not Met, and Problems are Resolved/Not Resolved. This same concept is applied to the actions that users can perform on care plan elements in the Problems, Goals, and Interventions section:
●  — Initiates the Problem Details prompt, which allows users to indicate if the corresponding Problem has been resolved or not. This will automatically mark all Goals as Met/Not Met and Discontinue all Interventions associated with the Problem.
●  — Initiates the Goal Details prompt, which allows users to indicate if the corresponding Goal has been met or not. This will automatically Discontinue all Interventions that are associated with the Goal.
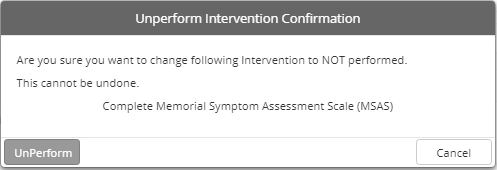
●  — Initiates the Intervention Details prompt for the corresponding Intervention, which allows users to indicate an End Date and discontinue the Intervention.
|
|
These prompts are the same "Details" prompts that are described in the "Entering Details for P/G/I" section within the Care Plan Screen topic. |
View Recommended Problems
Within any instance of the Problems, Goals, and Interventions section, users can click View Recommended Problems to display a Generate Care Plan window that lists applicable PGI available for adding to the patient care plan, based on assessment data. Each instance of this feature will only list PGI items in the Suggested Care Plan that are related to specific section where the View Recommended Problems button is located in the document. Similar with other applications of PGI throughout the CAREpliance features, care plan elements are grouped accordingly.
Initially, only the Problems will display, but users can expand (![]() ) or collapse (
) or collapse (![]() ) any individual Problem or Goal to view care plan elements that are associated. Additionally, users can use the controls to the top-right of the Generate Care Plan prompt perform an action to all available care plan elements. Users can Select All available care plan elements, Unselect All, Collapse All, or Expand All PGI items that are available.
) any individual Problem or Goal to view care plan elements that are associated. Additionally, users can use the controls to the top-right of the Generate Care Plan prompt perform an action to all available care plan elements. Users can Select All available care plan elements, Unselect All, Collapse All, or Expand All PGI items that are available.
Designate PGI items to include in the care plan by checking the corresponding boxes and then entering any necessary information (e.g. Start Date, specifying the discipline, indicate the Intervention Type, etc.). Similar to how some care plan elements contain underscores (____) within the verbiage of the item (in the Care Plan tab), some of the care plan elements in the Generate Care Plan prompt contain “required” fields. For these fields, click required and then enter the appropriate text within the text field that appears.
Modify Care Plan
Each instance of the Problems, Goals, and Interventions section also provides users with a direct way to edit the current list of PGI included in the patient’s current, active care plan. Users can click Modify Care Plan to display the Care Plan window, which contains the same exact layout and functionality that is included in the Care Plan tab. This feature provides users with the convenience of altering the patient’s current care plan from within a document so they will not have to alternate back and forth between the document and the Care Plan tab.
For more information about functionality contained in the Care Plan window, refer to the Care Plan topic. While these details focus specifically on the Care Plan tab, the Care Plan window accessed from within documents contains identical features.
|
|
At any point while completing a document, users can click Generate Care Plan to generate a care plan based on the latest assessment data that has been entered. |