The sample image below shows the prompt that displays immediately after the user opens a new SN Comprehensive Start of Care/Resumption of Care document:
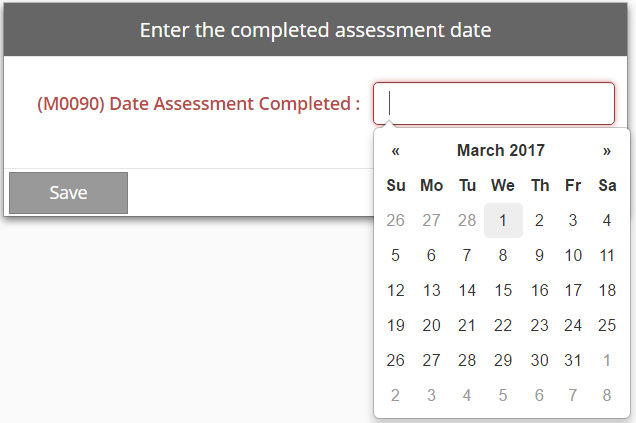
For OASIS-type documents, you are able to interact with the forms and enter patient data by using various fields (i.e. text fields, date-selection calendars, radio buttons, checkboxes, etc.). After the applicable document has been selected from the Select a Document menu (in Patients | Documents), enter the completed assessment date to ensure the correct version of the OASIS document is used (i.e. C1 or C2).
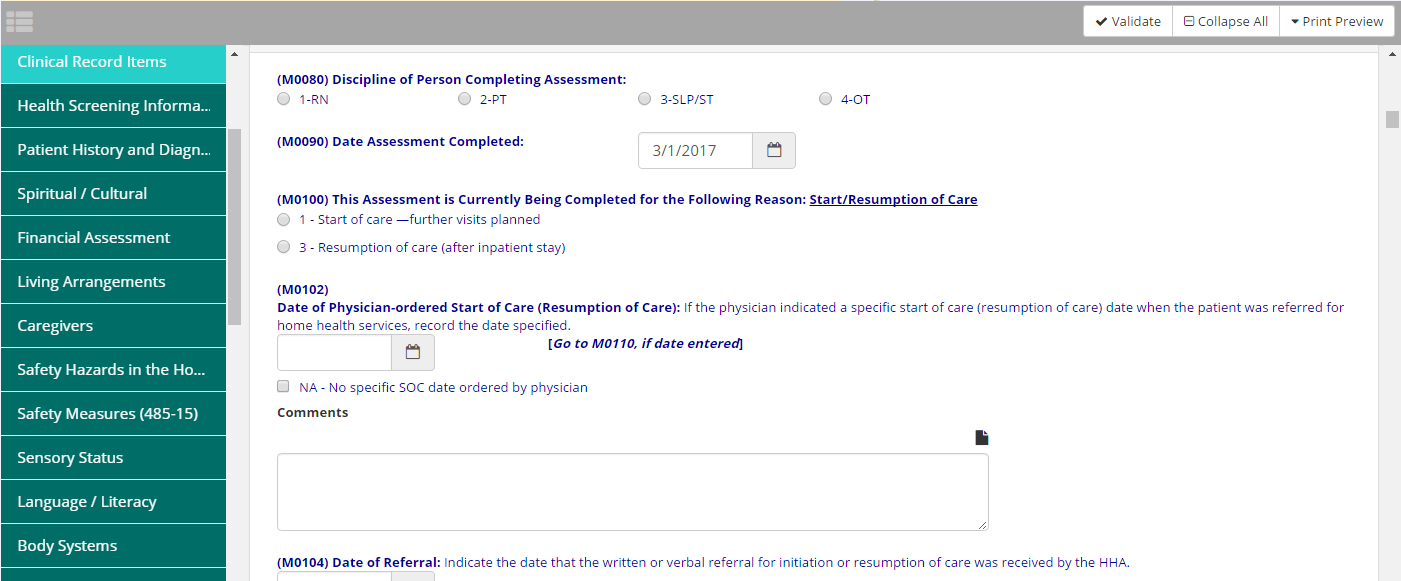
After the document is created, proceed to enter data in all applicable fields for the patient. Any existing data that has been saved in the patient chart will populate in the corresponding fields within the assessment (e.g. Patient Name, Social Security Number, Allergies, Primary Diagnosis, Other Diagnoses, etc.). All data is entered in the document using one screen, which is navigated by scrolling down, as necessary. Additionally, users can click ![]() at the top-left to expand the navigation menu (as seen in the sample image) and select a specific part of the assessment to complete. For OASIS assessments: After entering all necessary data, users must validate the document.
at the top-left to expand the navigation menu (as seen in the sample image) and select a specific part of the assessment to complete. For OASIS assessments: After entering all necessary data, users must validate the document.
|
|
The user interface and functionality utilized in OASIS assessment documents is also available in the new Evaluation documents used for Care Planning. Additionally, several enhanced versions of OASIS documents are now available as part of the Care Planning feature. Learn more about Care Planning and the enhanced OASIS documents. |