● Active
● User
● Category
● Notes
● Action
Users are able to enter notes in Accounts | Account Summary | Notes that contain details pertaining to the selected patient's account summary. From the Notes tab, users can enter notes and view a history of previous notes that have been entered for the selected patient. Previous notes that have been entered will display in the Account Notes History grid, which contains the following columns of data.
|
|
These notes can be displayed in the A/R Aging Report or, in the more comprehensive, Accounting Notes Report. |
To enter a new account summary note for a patient:
1. From the Main Menu, click Accounts and then select Account Summary. By default, the Patient Search menu is displayed on the left.
2. If necessary, use the Patient Search menu and select the patient you wish to add an account summary note for.
3. Select the applicable entries in the Accounts Receivable Reconciliation and Accounts Receivable grid.
4. Click the Notes tab. Ensure the correct patient entry is selected in the Selected A/R Entry grid.
5. In the New Account Note Details section, enter the desired verbiage in the Note text field.
6. If desired, add a narrative to the text field.
7. Check either the box next to Action Needed or Action Resolved to designate a status for the note.
8. Select the most appropriate option from the Note Category drop-down menu.
|
|
Account note category options are populated from data stored in Reference Files | Acct Note Category. |
9. Click Save.
10. Furthermore, while on the Notes tab, users can click the Email icon at the top of the screen to send details for the account summary note to another user (if Messaging is enabled in Administration | System Control).
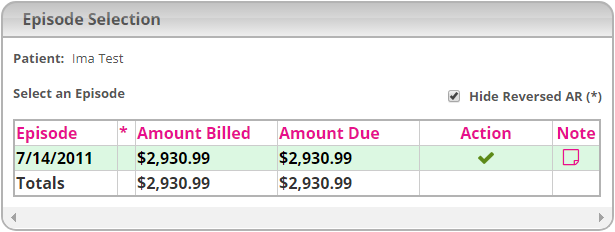
|
|
The Notes tab and all of this functionality is also accessible from Accounts | Payments | Notes. Furthermore, the "Notes" and "Action" columns that were added to the Accounts Receivable grid (on the Account Summary screen) have also been implemented within the Episode Selection grid in Accounts | Payments | Post Payments, as shown in the sample image. |